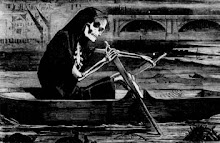
There's a great web site from Diane Varner that has some very interesting examples of toned shots she has done in CS3. Try as I might, I can never quite get this to work well for me, but will nevertheless keep struggling. I like to blame this on being colour-blind ... but that's not really quite fair! Being vision-challenged, yes, but not in that way.
Anyway, I was reading through her post there on post-processing technique and saw that she'd used a different B&W conversion approach that I hadn't seen before: the Gradient Map.
The advantage of this approach is that you can control the mapping between brightness levels in the original and the resulting grey-scale image. Furthermore, you can do very interesting things like such as black/white/black conversions, with the highest levels going back to black instead of blowing out.
The original (this one is close enough) was useful because it had a fairly constant blue background that could be reliably mapped into white in order to reset the feel of the shot, also allowing some leeway in transforming the real highlights to help add definition and delivering more of a high-key feel.
Detailed instructions? Alas, I can't give the full recipe for this one because I did it late at night and forgot to save the full layer set before flattening - doh! I think I first boosted contrast with USM at a high-radius/low percentage level before doing the gradient map. When converting, I used the "metal" preset because that had a good starting point for the black-white-black approach. And curves, I'm sure there was a curve in there to do some global contrast adjustment. Somewhere.
Anyway, give it a go, and if I can dial-things in a bit more accurately I'll post on this topic again. Please though let me know if you can craft a more reliable recipe and I'll repost it to everyone.


No comments:
Post a Comment